
Uncompress the driver files into your /opt directory.
cd /opt
tar xvfz /afs/cs/sofware/opt/xerox_altalink_c8070.tgz
You should end up with a /opt/Xerox directory. Now run the configuration tool:
cd /opt/Xerox/prtsys
sudo ./xeroxprtmgr
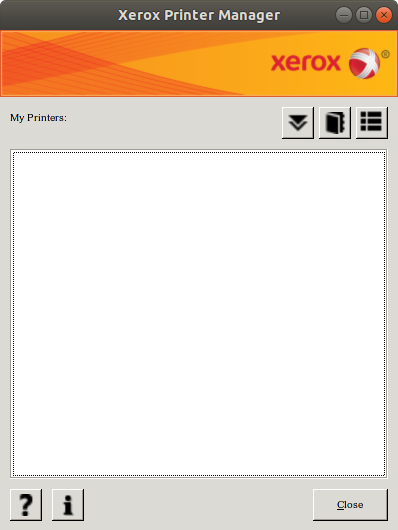
Click on the icon with the arrows pointing down in the top right part of the window:
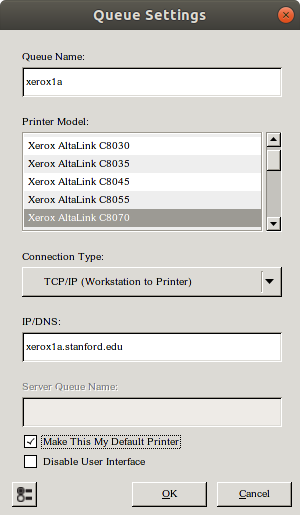
Now click on the list icon in the top right part of the window and select Manual Install...

Enter the printer name (e.g. xerox1a) for Queue Name. Select Xerox AltaLink X8070 for Printer Model. Enter the host name (e.g. xerox1a.stanford.edu) for IP/DNS. Decide whether you want to make this your default printer.
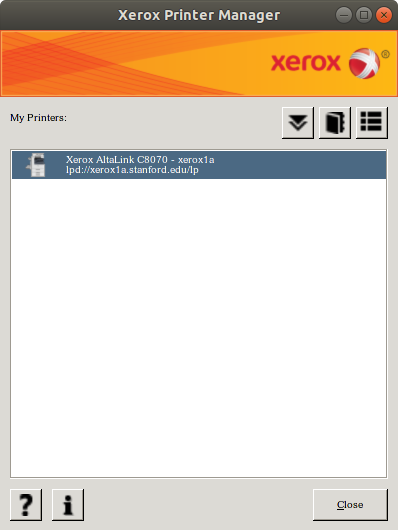
This should set up the printer. In the main window, click on the printer to select it and click on the list icon in the top right part of the window. Now select Queue preferences...
Select the Configuration tab.
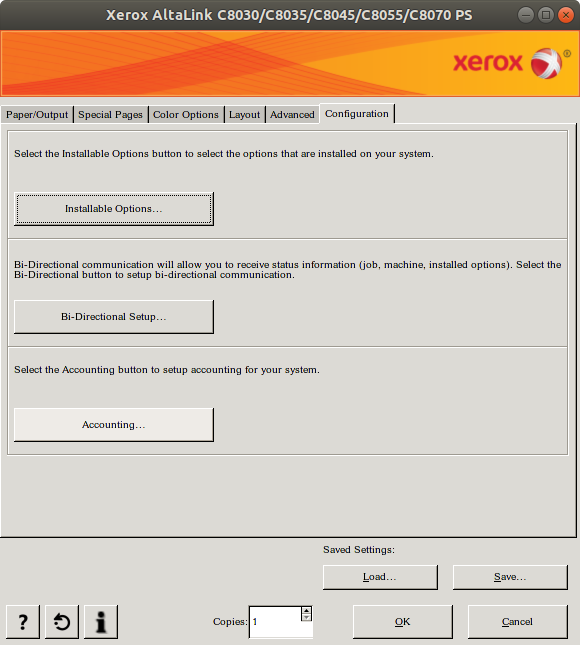
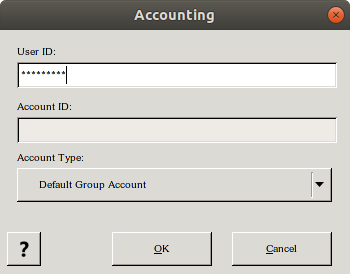
Click on the Accounting... button.

Select Xerox Standard Accounting for the Accounting system and make sure that Always Prompt is selected for the Accounting Prompt. Click OK to save the accounting settings. Click Close to exit the Xerox Printer Manager.
Once you print from an application you will be prompted for the User ID. Enter the code that was provided to you by your group's administrative associate.
Comments